Your Foggy Headlights Are a Safety Hazard. Here's the $10 Fix You Can Do in Your Driveway
by AutoExpert | 13 May, 2026
If your car is old enough to have a few parking-lot scars and one mystery rattle you’ve decided to ignore, go look at the headlights.
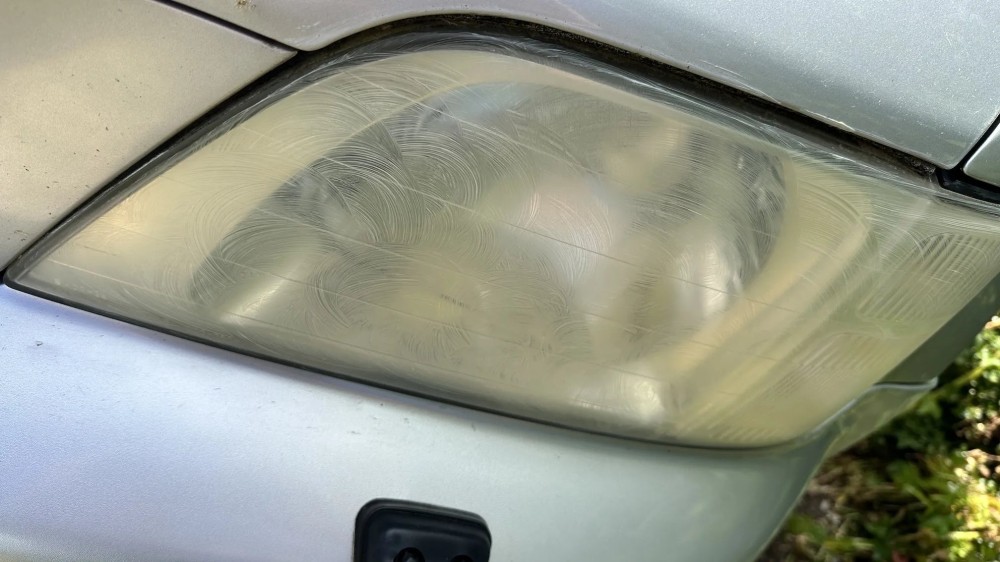
There’s a good chance they’re not clear anymore. They’re yellowish. Hazy. Kind of like frosted plastic someone forgot to clean for five years. It looks bad, sure, but the bigger problem is that it can seriously cut down what you see at night. And that is not exactly the place where you want your car doing a bad impression of a candle.
The annoying part? It usually happens slowly, so you don’t notice. One year the lights are fine, the next thing you know you’re driving down a dark road wondering why everything looks dim and vaguely haunted.
Most modern headlights are not glass. They’re polycarbonate plastic, which is lighter and tougher, but the sun absolutely bullies it over time. There’s a clear UV coating on top when the car is new. Eventually that coating breaks down from sunlight, rain, road grit, car wash chemicals, all the usual outdoor punishment. Once it’s gone, the plastic starts oxidizing. That’s the yellow cloudy stuff.
Cars that live outside get it worse. Hot, sunny places make it happen faster. Garage-kept cars get a little more mercy. But sooner or later, almost every plastic headlight lens starts looking tired.
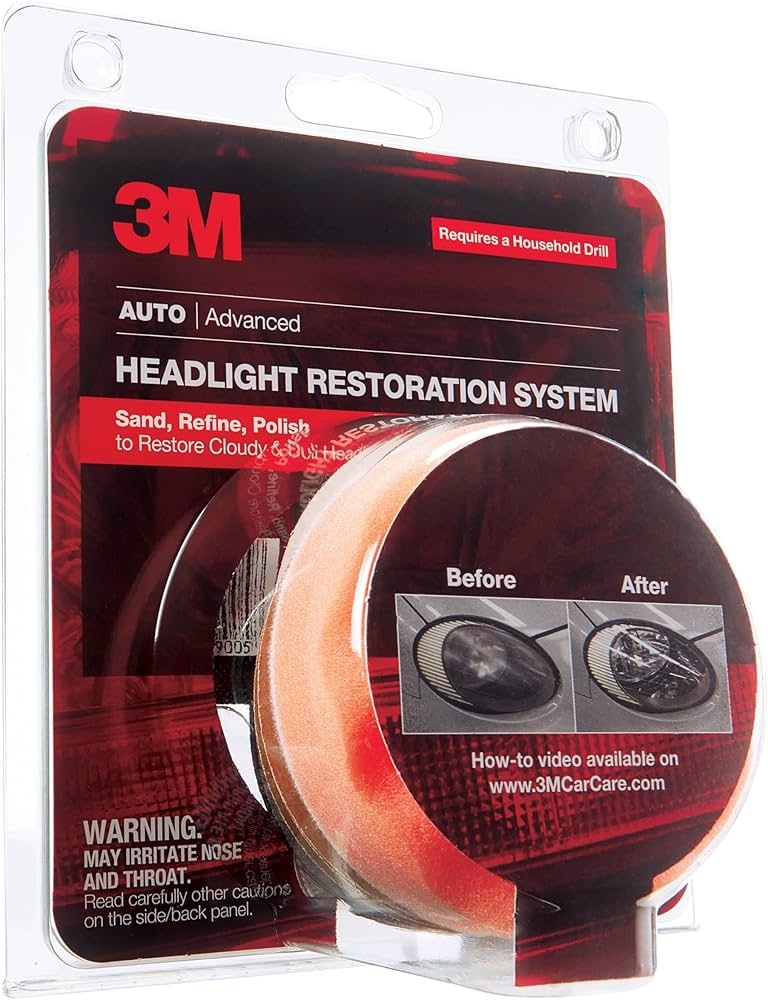
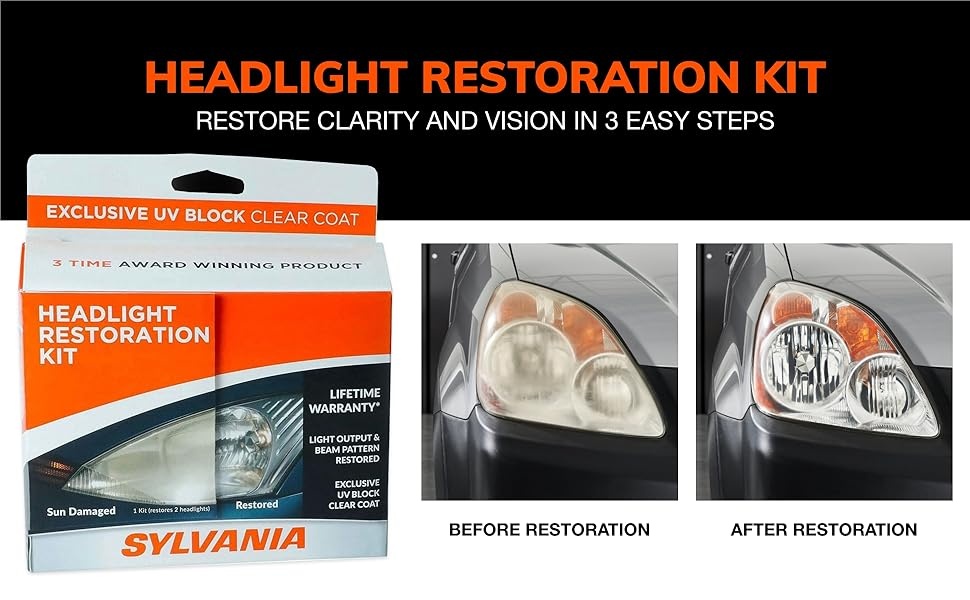
The good news is that fixing it is not some big professional-only thing. A headlight restoration kit from 3M, Sylvania, Meguiar’s, whatever your auto parts store has, usually costs around $10 to $20. You’ll get sandpaper in different grits, polish, and sometimes a UV sealant. That’s the important bit, by the way. More on that in a second.
You can also do the cheap home version with baking soda and regular white toothpaste. Not gel toothpaste. The old-school kind. Mix it into a paste, rub it into the lens with a damp microfiber cloth, and keep working it for a few minutes. It’s not magic, but it does help because it acts like a mild abrasive. Very “dad in the driveway on a Saturday” energy, but it works better than it has any right to.
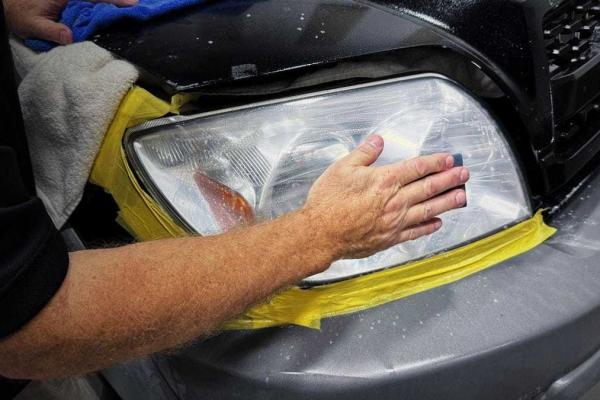
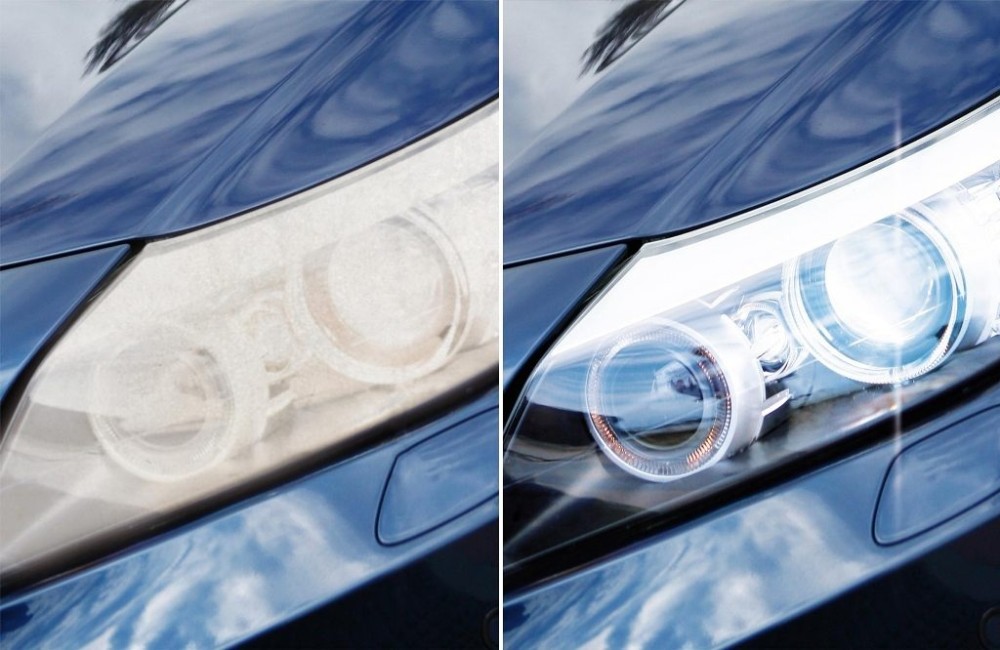
If you’re using a proper kit, tape around the headlight first so you don’t scratch the paint. Wet the lens, wet the sandpaper, and start with the roughest grit. Keep it wet the whole time. That milky runoff you see is the dead, oxidized layer coming off. It will look worse before it looks better, which is mildly stressful but normal. Then you move to finer grits, polish it, and suddenly the lens starts looking clear again.
Now, the step people skip: sealing it.
Do not skip it.
Once you’ve polished the plastic clear, you need to protect it again with a UV sealant. Some kits include a wipe. If not, a light UV-resistant clear coat can do the job. Without that, the sun will come right back and haze the lenses again in a few months, because apparently the sun has nothing better to do.
There are times when polishing won’t save you. If the lens is cracked, chipped badly, or has moisture inside the housing, that’s a different problem. At that point you may be looking at replacement. But for normal yellow, foggy headlights? A half-hour in the driveway can make a real difference.
And honestly, this is one of those cheap little jobs that feels more satisfying than it should.
You spend twenty or thirty minutes rubbing old plastic, and then suddenly the front of the car looks younger and the road at night looks less like a horror movie.
Not bad for ten bucks.


")


